
Have you ever wondered how clean your HVAC ducts really are? You might be surprised to learn just how much dust and debris can accumulate in those hidden spaces. It’s more common than you think, and cleaning them yourself can improve the air quality in your home. Let’s discuss how you can tackle this task in a safe and effective manner, especially in Houston, TX, where the humidity can contribute to issues like mold growth.
Understanding HVAC Systems
Before you roll up your sleeves, it’s essential to understand the components of your HVAC system. Knowing how everything works together can help you diagnose issues and clean effectively.
What is HVAC?
HVAC stands for Heating, Ventilation, and Air Conditioning. This system is responsible for maintaining the temperature and air quality in your home. It consists of ducts, vents, filters, and various machinery that work in unity to create a comfortable environment.
Ductwork: The Unsung Hero
Ducts are the channels that carry heated or cooled air throughout your home. Over time, they can accumulate dust, dirt, and even pests, leading to decreased efficiency and potential health risks. Cleaning these ducts not only helps with air quality but can also reduce energy costs.
Why Cleaning Your Ducts Matters
Having clean ducts goes beyond just maintaining a tidy home. There are practical benefits that can affect your health and wallet.
Improved Air Quality
Dust, allergens, and mold can linger in your ducts and eventually make their way into the air you breathe. Regular cleaning can significantly improve indoor air quality, making it especially important for those with allergies or respiratory issues.
Energy Efficiency
Dirty ducts can cause your HVAC system to work harder, leading to higher energy bills. When ducts are clean, air flows more freely, allowing your system to operate more efficiently.
Extended Equipment Lifespan
Regular maintenance checks and cleanings can extend the life of your HVAC system. A clean system experiences less strain, which decreases the likelihood of breakdowns and costly repairs.

Assessing Your Ducts
Before you begin cleaning, it’s a good idea to assess the state of your ducts. This assessment will help determine how deep of a clean you might need.
Signs of Dirty Ducts
Keep an eye out for these indicators that your ducts may need cleaning:
- Visible Dust: If you notice dust accumulating on vent covers, it’s a sign your ducts may be dirty.
- Unpleasant Odors: Musty smells can suggest mold growth or other contaminants.
- Allergies: Increased allergy symptoms among household members may point to dirty ducts.
- Dusty Furniture: If you’re having to dust more frequently than usual, your ducts might be to blame.
Performing a Preliminary Inspection
Use a flashlight to peek into your ducts through the vents. You should look for:
- Dust Accumulation: Pay attention to how much dust has settled inside.
- Mold Growth: Any signs of mold should be taken seriously, especially in humid regions like Houston.
- Pest Debris: Rodent droppings or nests are a clear indication that professional assistance may be needed.
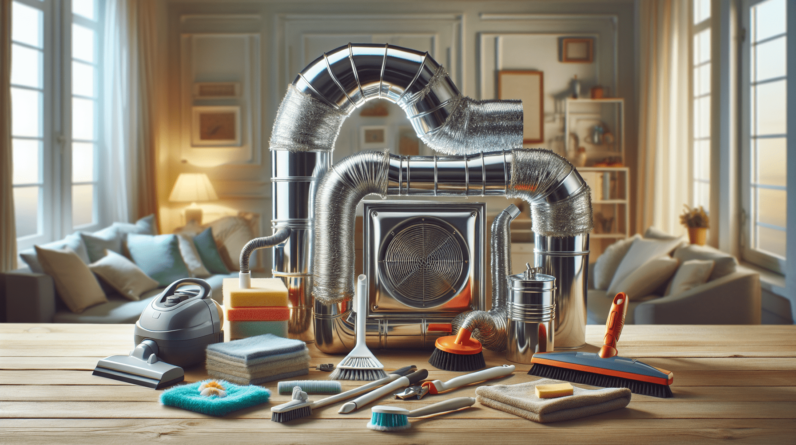
Tools You Will Need
Cleaning your HVAC ducts can be a hands-on project, so having the right tools is essential for a successful clean.
| Tool | Purpose |
|---|---|
| Vacuum Cleaner | To remove loose dust and debris |
| Duct Cleaning Brush | To scrub duct walls and corners |
| Screwdriver | For removing vent covers |
| Flashlight | To inspect your ducts |
| Gloves | To protect your hands during the cleaning |
| Face Mask | To avoid inhaling dust and allergens |
| Bucket | For collecting debris and cleaning solutions |
Step-by-Step Guide to Cleaning Your HVAC Ducts
Now that you have your tools ready, you can begin the process of cleaning your ducts. Follow these steps for a thorough clean.
Step 1: Turn off Your HVAC System
The first thing you want to do is ensure your HVAC system is turned off. This precaution helps avoid dirt and debris being circulated while you’re cleaning. You can do this using your thermostat or power switch.
Step 2: Remove Vent Covers
Using a screwdriver, carefully remove the vent covers. To make this easier, it can help to have a small bucket nearby to place the screws in—this way, you won’t lose any.
Step 3: Vacuum the Ducts
With the vent covers off, insert your vacuum cleaner nozzle into the duct as far as it can reach. Be thorough and make sure to collect any visible dust or debris. If you have a brush attachment, that can help loosen any stubborn particles.
Step 4: Use a Duct Cleaning Brush
For deeper cleaning, use a duct cleaning brush. Attach it to a long handle to reach further into the duct. Scrub the sides of the duct to remove any stuck dirt and debris. A few passes should help dislodge even stubborn grime.
Step 5: Inspect and Clean
After vacuuming, use your flashlight to inspect the duct interior. If you see any remaining dust or debris, repeat the vacuuming and brushing steps.
Step 6: Clean the Vent Covers
While your ducts are exposed, don’t forget about the vent covers. Wipe them down using a damp cloth and a mild cleaning solution. Let them dry completely before reattaching them.
Step 7: Replace Filters
This step is often overlooked. If your HVAC system has filters, check their condition. If they are dirty or clogged, replace them. Clean filters will improve airflow and efficiency.
Step 8: Reattach Vent Covers
Once everything is clean and dry, carefully reattach the vent covers. Make sure to secure them tightly, so debris doesn’t slip back in.
Step 9: Turn Your HVAC System Back On
Finally, turn your HVAC system back on. When it runs, pay attention to anything unusual—like weird smells or noises. If everything seems fine, enjoy your freshly cleaned ducts!
Tips for Maintaining Clean Ducts
Cleaning your ducts isn’t just a one-time task; it’s part of regular home maintenance. Use these tips to keep your ducts clean over time.
Regular Filter Changes
Changing your HVAC filters regularly is crucial. Depending on your system, it’s recommended to change them every one to three months.
Schedule Annual Maintenance
Consider scheduling an annual maintenance check with a professional HVAC technician. This can catch any potential issues before they turn into costly repairs.
Maintain Indoor Humidity
In Houston’s humid climate, mold can become a problem. Use a dehumidifier if necessary, and address any water leaks promptly.
Seal Leaks
Ensure your ductwork is sealed correctly. Leaks can lead to airflow issues and wasted energy. If you suspect leaks in your ducts, consider having them professionally sealed.
When to Call a Professional
While cleaning your ducts yourself can be an excellent way to save money and learn more about your HVAC system, some situations are best left to the experts.
Severe Mold Growth
If you find extensive mold in your ducts, it’s crucial to call a professional. They have specialized equipment and knowledge to handle mold safely and effectively.
Pest Infestation
If you suspect that pests have made a home in your ducts, don’t try to deal with it alone. Professionals can properly address pest infestations without compromising your ventilation system.
Extensive Debris
If your ducts haven’t been cleaned in a long time, and you’re encountering significant buildup, a professional deep cleaning may be warranted to address the situation adequately.
Conclusion
Cleaning your HVAC ducts yourself is entirely feasible and offers numerous benefits, from improved air quality to enhanced system efficiency. By regularly maintaining your ducts, you’re ensuring a healthier home environment, particularly critical in a humid area like Houston, TX. If you feel overwhelmed at any point, don’t hesitate to reach out to professionals for assistance. It’s about enjoying your home and ensuring the air you breathe is as clean and fresh as possible. So, are you ready to get started on your duct cleaning project and breathe easier at home?