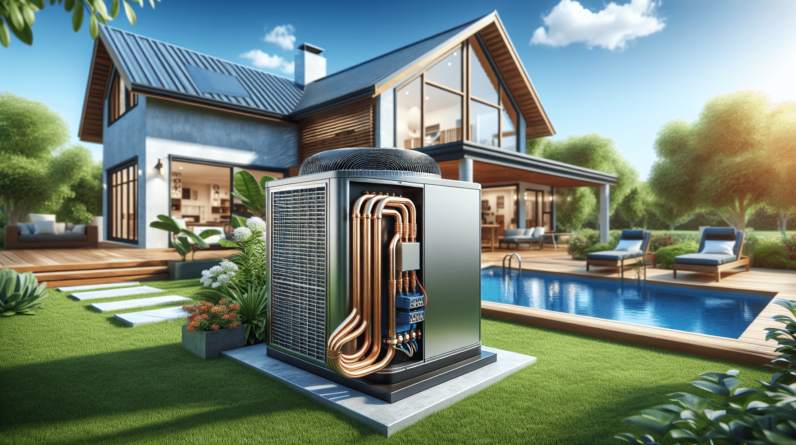
Have you ever wondered what goes into the installation of an HVAC system? If you’re considering upgrading your home’s heating, ventilation, or air conditioning, understanding the installation process can make a big difference. Not only does it ensure optimal efficiency and comfort, but it also helps prolong the lifespan of your system.

Understanding HVAC
Before we get into the nitty-gritty of installation, let’s clarify what HVAC actually means. HVAC stands for Heating, Ventilation, and Air Conditioning. It refers to the systems that provide heating and cooling to residential and commercial buildings. Understanding the components of HVAC can make it easier to appreciate how they work together to create a comfortable indoor environment.
Components of HVAC
-
Heating System: This can include furnaces, heat pumps, and boilers. The heating system keeps your home warm during the colder months.
-
Cooling System: Central air conditioning units, ductless mini-split systems, and HVAC heat pumps help cool your home in the summer.
-
Ventilation System: This aspect ensures that stale indoor air is replaced with fresh outdoor air. Proper ventilation is key to maintaining air quality.
-
Thermostats: Controls that regulate the temperature and comfort level in your home. Smart thermostats even allow you to monitor and adjust your HVAC system remotely.
Importance of HVAC
An efficient HVAC system enhances not just comfort, but also energy efficiency. A well-installed system can help reduce energy bills, improve air quality, and even increase property value. Keeping your system well-maintained also helps prevent costly repairs down the line.
The HVAC Installation Process
Understanding the installation process is essential whether you are replacing an old system or installing a new one in your home. The process typically involves several key steps, which we’ll break down for you.
Step 1: Assessment
Before any installation can begin, an assessment is vital. An HVAC technician visits your home to evaluate your needs.
-
Load Calculation: The technician performs a load calculation to determine the size of the HVAC system needed. This involves measuring your home and considering factors like insulation, windows, and climate.
-
System Recommendations: After assessing your home, the technician may recommend specific brands and system types that suit your needs.
Step 2: Choosing the Right System
After the assessment, it’s time to select the HVAC system. Here are some options you might consider:
| System Type | Description | Ideal For |
|---|---|---|
| Central Air Conditioning | Cools entire homes through ductwork | Larger homes with existing ducts |
| Ductless Mini-Split | Provides localized cooling without ductwork | Small spaces or additions |
| Heat Pumps | Works for both heating and cooling | Mild climates |
| Furnaces | Typically gas or electric heating | Areas needing intense heat |
Step 3: Installation Preparation
Once you’ve selected a system, the installation prep begins. This usually includes:
-
Permits and Codes: Ensuring that all necessary permits are obtained and that the installation will meet local building codes.
-
Timeline: Setting a schedule that works for both you and the HVAC team.
Step 4: System Installation
Now for the hands-on part! During the installation, the technician will take the following steps:
4.1 Removal of Old System
If you’re replacing an existing system, the old equipment will need to be safely removed. This may involve:
- Disconnecting electrical components
- Draining refrigerant (following environmental regulations)
- Removing ductwork if necessary
4.2 Installing New Equipment
Once the old system is out, the new one can be installed. The specifics depend on your chosen system, but generally, you can expect:
- Furnace or Heat Pump Installation: Placement in a utility area or basement, ensuring adequate clearance.
- Air Conditioning Unit: The outdoor condenser is mounted on a concrete pad, with refrigerant lines running indoors.
- Ductwork Installation: If your system requires it, new ductwork may be installed or modified to fit the new system.
Step 5: Testing the System
After installation, it’s time for testing. This is the moment to ensure everything operates as it should:
- Checking Thermostat Settings: Making sure the thermostat is calibrated and functioning correctly.
- Running the System: The technician will operate the system to check for any leaks, noises, or issues.
- Final Adjustments: Any necessary adjustments to airflow or temperature settings will be made.
Step 6: Final Walkthrough
The final step usually includes a walkthrough with you. During this time, the technician will:
- Explain how to operate the thermostat and other controls.
- Review routine maintenance tips to help you keep the system running efficiently.
- Discuss warranty information and any service plans available.
Post-Installation Considerations
Once your new HVAC system is installed, there are a few important things you’ll want to keep in mind for its ongoing care.
Regular Maintenance
Maintenance is key to ensuring longevity and efficiency. Here’s a general maintenance schedule you should follow:
| Maintenance Task | Frequency |
|---|---|
| Change Air Filters | Every 1-3 months |
| Professional Inspection | Annually |
| Clean the Ducts | Every 3-5 years |
| Check Refrigerant Levels | Annually |
Understanding Your Thermostat
Getting familiar with your thermostat can greatly improve your comfort at home. Many modern thermostats offer features like programmable settings and energy-saving modes:
- Setting Temperatures: Learn how to set different temperatures for different times of the day.
- Using Smart Features: Explore apps that let you control your system remotely.
Observing System Performance
After installation, keep an eye on how your HVAC system performs. Some indicators that something may require attention include:
- Inconsistent Temperatures: Noticeable differences in temperature from room to room.
- Unusual Noises: Sounds like grinding, banging, or hissing can indicate issues.
- Increased Utility Bills: A sudden rise can signal inefficiency or underlying problems.
Benefits of Professional Installation
You might wonder whether you can install an HVAC system yourself or if it’s better to hire a professional. Here are some reasons why professional installation is invaluable:
- Expertise: Professionals are trained to assess your specific needs and recommend suitable solutions.
- Compliance: Technicians ensure that installations meet local building codes and safety regulations.
- Warranties: Many manufacturers require professional installation for warranty coverage, providing you peace of mind.

Conclusion
Understanding HVAC installation is crucial for making informed decisions about your home’s heating and cooling system. From assessments to the final walkthrough, every step is aimed at ensuring your comfort and satisfaction. By maintaining your system and keeping it in check post-installation, you’ll enjoy a cozy, energy-efficient home for years to come.
If you’re ready to upgrade your HVAC system or need more information, connecting with a reliable HVAC contractor can help you through the process seamlessly. Your comfort is just a well-installed system away!
“Need reliable home services or remodeling? Whether it’s an emergency or a routine project, we’ve got you covered 24/7! Call us anytime at 877-257-5053 and let our experts handle the rest!”


