Have you ever thought about transforming your bathroom into a sanctuary? A fresh remodel can not only enhance the aesthetic appeal of your space but also significantly increase the value of your home. Let’s embark on this journey together, and I’ll guide you through the process of a DIY bathroom remodel.
Why Consider a Bathroom Remodel?
Remodeling a bathroom can lead to more than just a visual upgrade. It’s an opportunity to increase functionality, energy efficiency, and even your home’s market value. Whether you dream of a modern retreat or a cozy, vintage vibe, this project can turn your vision into reality.
The Benefits of a DIY Approach
Choosing the DIY route for your bathroom remodel has its own set of benefits. You can save money, personalize your space, and gain a sense of accomplishment as you see your hard work come to life. Plus, it allows you to work at your own pace, ensuring that each detail aligns with your vision.
Planning Your Bathroom Remodel
Before you get your hands dirty, it’s crucial to set a solid plan in motion. This phase lays the foundation for your project and helps you avoid costly mistakes down the line.
Establish Your Budget
Understanding how much you can spend is essential. Your budget should account for materials, labor (if needed), and any unexpected expenses that may arise. Having a clear number in mind will shape the scope of your project and guide your choices.
Design Ideas and Inspiration
Take some time to browse through magazines, websites, or social media platforms for bathroom design inspiration. Create a mood board that reflects your style preferences, color schemes, and fixture ideas. This visual representation can serve as a guide throughout the remodeling process.
Measure Your Space
Accurate measurements ensure that everything will fit perfectly. Keep in mind the dimensions of your bathroom and the specific areas where you plan to make changes. This is particularly important for larger fixes, like swapping out a bathtub for a shower.

Picking Your Style
Now that you have your budget and measurements, it’s time to pick a style that speaks to you. Here are a few popular options:
Modern Style
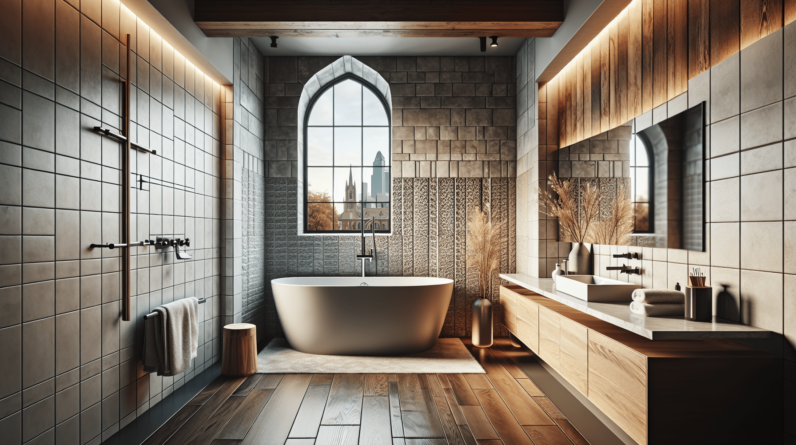
Characterized by clean lines, minimalistic design, and sleek finishes, a modern bathroom often incorporates bold colors and innovative materials. Think bright whites, blacks, and striking grays.
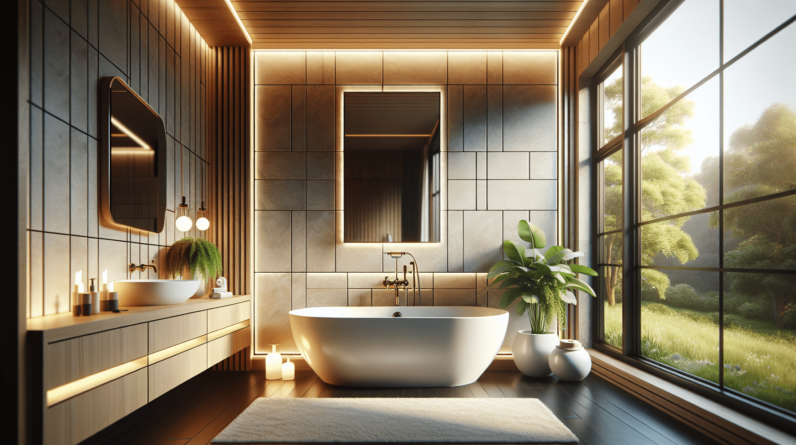
Rustic Charm
If you love a warm, homey feel, consider rustic designs that embrace natural elements. Wood accents, soft lighting, and earth tones can create a cozy sanctuary.
Vintage Inspiration
A vintage bathroom can evoke nostalgia while adding character to your space. Look for vintage-style fixtures, subway tiles, and clawfoot tubs to transport you back in time.
Choosing Materials
Once you have your design style in mind, it’s crucial to select high-quality materials that are both functional and visually appealing.
Fixtures
The fixtures in your bathroom make a significant impact on its overall look. Consider the following elements:
- Sinks: Vessel sinks offer a trendy look, while under-mount options provide a seamless counter appearance.
- Faucets: Choose finishes that align with your style, whether it’s chrome, brushed nickel, or oil-rubbed bronze.
- Showerheads: Opt for waterfall or rain showerheads for a spa-like experience.
Flooring Options
Choosing the right flooring is vital, particularly given the moisture levels in bathrooms. Some popular options include:
| Flooring Type | Pros | Cons |
|---|---|---|
| Tile | Water-resistant; long-lasting | Can be cold underfoot |
| Vinyl | Cost-effective; versatile | Less durable than tile |
| Wood (treated) | Warm and inviting | Requires maintenance |
| Laminate | Affordable; easy to install | Not waterproof |
Wall Treatments
Walls in your bathroom should be both functional and stylish. Consider moisture-resistant paint or tile. If you want an added touch, think about using wainscoting or decorative wallpaper in areas less exposed to water.

Demolition: Getting Started
With everything planned out, it’s time for the hands-on part – demolition. This can be an exhilarating step, just remember to prioritize safety.
Safety First
Wear protective gear like gloves, goggles, and masks. Ensure the area is well-ventilated, especially if you’re working with chemicals like paint or adhesives.
Remove Fixtures
Start by removing any existing fixtures carefully. Turn off the water supply, disconnect plumbing, and take your time to avoid damaging anything you might want to reuse.
Tackle the Wall and Floor
Using appropriate tools, remove tiles or flooring. Be cautious of any pipes or wiring hidden behind surfaces, and have a plan in place for waste disposal.
Plumbing and Electrical Considerations
Before proceeding with the remodel, consider the plumbing and electrical work you might need. Changes in layout can affect how plumbing and electrical systems work.
Do You Need a Professional?
If you’re not confident in handling plumbing or electrical installations, it’s wise to consult a professional. This will save you headaches and ensure everything is up to code.
DIY Plumbing Basics
If you’re up for the challenge, here’s what you need to know:
- Turn Off Water Supply: Always shut off the water at the main valve before starting work.
- Replace Fixtures: For sink installations, apply plumber’s putty and carefully secure your fixtures.
- Connect Drainage: Ensure the drainage system matches the sink’s outlet for smooth water flow.
Installing New Fixtures
Once your prep work is complete, it’s time to install new fixtures. This can greatly change the look of your bathroom.
Step-by-Step Fixture Installation
-
Sinks and Vanities:
- Secure your vanity in its designated spot.
- Attach the sink and connect to the plumbing.
-
Toilets:
- Position the toilet over the wax ring and secure the bolts.
- Attach the water supply line and turn the valve back on to check for leaks.
-
Shower/Tub:
- Install the tub according to the specifications.
- Attach the showerhead and ensure everything is waterproof.
Wall Treatments and Finishing Touches
With your new fixtures in place, it’s time to enhance the walls and finalize the look of your bathroom.
Applying Wall Treatments
Whether you’ve chosen paint, tile, or wallpaper, take your time for a polished finish:
- Painting: Use moisture-resistant paint to avoid mold and mildew.
- Tiling: Start at the bottom and tile upwards, cutting tiles as needed for a perfect fit.
- Wall Coverings: Follow the manufacturer’s instructions for installation and adhesive application.
Final Adjustments
Don’t forget about those little details that can make a big impact.
- Lighting Fixtures: Change old light fixtures for a fresh ambiance.
- Accessories: Add towels, artwork, and decorative items to create a cohesive look.
Maintaining Your Newly Remodeled Bathroom
Now that your bathroom is fully remodeled, you’ll want to maintain its beauty and functionality. Regular cleaning and minor repairs will keep your sanctuary looking its best.
Cleaning Tips
Regularly clean your fixtures, surfaces, and plumbing to prevent buildup. Use appropriate cleaners for your specific materials to preserve their quality.
Small Repairs
Address minor issues like leaks or chipped tiles promptly. This will save you time and money in the long run.
Conclusion: Enjoying Your Space
Congratulations! You have transformed your bathroom into a space that reflects your personality and meets your needs. Now all that’s left is to sit back, relax, and enjoy the fruits of your labor. Whether you’re soaking in a bath, prepping for your day, or enjoying a quiet moment, your newly remodeled bathroom is now your personal haven.
Remember, the road to your dream bathroom was paved with careful planning and creative choices. Continue to enjoy and cherish this special space in your home. Happy relaxing!