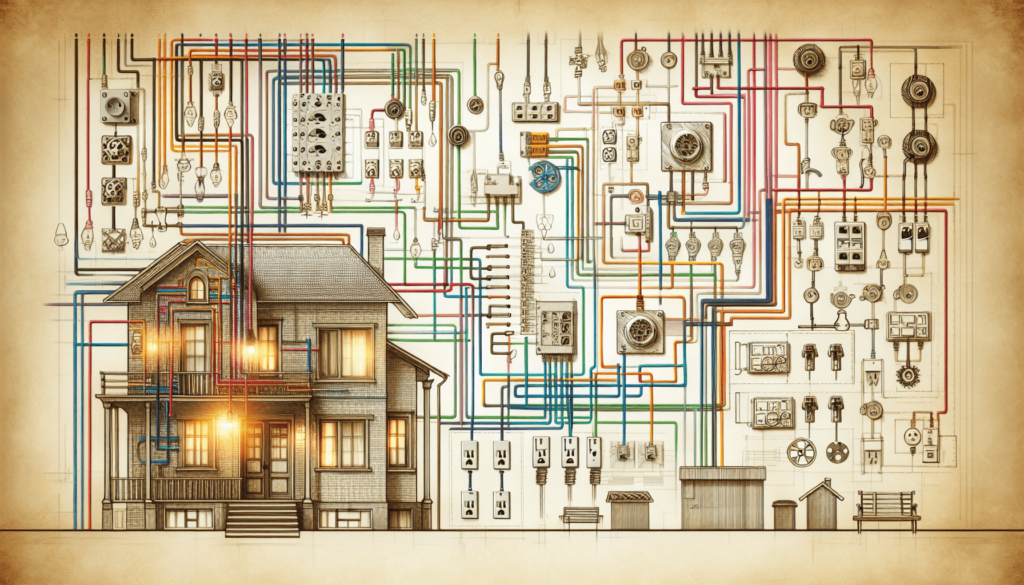
Have you ever thought about how the electrical wiring in your home works? Understanding this aspect of your house can enhance your safety and help you make informed decisions about renovations or repairs. This comprehensive guide will walk you through the basics of an electrical wiring diagram for a house, ensuring you have the knowledge needed to navigate your electrical system confidently.

What is an Electrical Wiring Diagram?
An electrical wiring diagram is a visual representation of the electrical system within a building. It illustrates the connections between various electrical components, like outlets, switches, and light fixtures, and helps in understanding how electricity is routed throughout your home. Think of it as a roadmap for your electrical system, guiding you from one component to another.
The Importance of Understanding Wiring Diagrams
Being familiar with your home’s wiring diagram has several benefits. It not only enhances your understanding of how electricity flows through your home but also can be crucial during renovations or repairs. Knowing the layout can guide your planning and prevent accidental damage to wiring when hanging pictures or drilling into walls. Additionally, if you ever experience electrical issues, a wiring diagram can be a valuable tool for troubleshooting.
Basic Components of Electrical Wiring
Before touching on wiring diagrams specifically, it’s essential to know the primary components involved in household wiring systems.
Circuit Breaker Panel
A circuit breaker panel, often called a breaker box, is the heart of your electrical system. This panel receives power from the utility company and distributes it throughout your home. Each circuit in your home will connect to the breaker panel, and if there’s an overload, the corresponding breaker will trip, cutting off electricity to prevent damage.
Outlets and Switches
Outlets are where you plug in devices, while switches control the flow of electricity to lights and other fixtures. These components connect to the wiring system and can vary in style and configuration based on your needs.
Wiring Cables
Wiring cables come in several types, including non-metallic (NM) cable, armored cable (AC), and others. Understanding the differences between these cables can be vital for DIY projects or repairs.
Grounding System
A grounding system connects electrical systems to the ground to prevent electric shocks. It’s an essential safety feature that keeps you and your home safe from electrical surges.
Reading an Electrical Wiring Diagram
When you look at an electrical wiring diagram, it may seem overwhelming at first. However, understanding how to read it will empower you with knowledge about your home’s electrical layout.
Symbols Used in Diagrams
Different symbols are used to represent various components. The most common symbols include:
- Circle: Represents light fixtures.
- Rectangle: Denotes outlets.
- Line: Indicates the wiring connections.
- Switch: Drawn as a simple break in a line.
Familiarizing yourself with these symbols will make it easier to interpret the diagrams.
Understanding the Layout
Most diagrams will be drawn to scale, with lines representing wires running horizontally or vertically. The arrangement of these lines in relation to symbols will guide you through the layout of wires and electrical devices in your home.
Types of Wiring Diagrams
There are various types of electrical wiring diagrams, each serving a specific purpose. Understanding these can help you identify the best type for your needs.
Schematic Diagrams
Schematic diagrams focus on the connections and functionality of electrical circuits, rather than the physical layout. They’re particularly useful for troubleshooting and understanding the circuit behavior.
Wiring Installation Diagrams
These diagrams provide detailed information about the placement of wires and devices during installation. They show how to wire items correctly, ensuring you follow safety standards.
Pictorial Diagrams
Pictorial diagrams provide a visual representation, combining images of components with their wiring. This type helps in understanding the physical layout and orientation of electrical components in a space.

How Electrical Circuits Work
Understanding how electrical circuits function is fundamental to comprehending wiring diagrams.
Series Circuits
In a series circuit, all components are connected in a single loop. This means that if one device fails or is removed, the entire circuit will break down. While simple, they are not often used in home wiring due to this downside.
Parallel Circuits
Parallel circuits connect multiple components along separate paths. This setup means that if one device fails, the others will continue to function. Most household wiring is arranged in parallel circuits because of their reliability.
Safety Precautions When Working with Electrical Wiring
When experimenting with electrical wiring, safety should always be your priority.
Turn Off Power
Before beginning any work, always switch off the power from the circuit breaker panel. This step will help prevent electric shock while you’re working.
Use Proper Tools
Using the correct tools is essential for effective and safe wiring. Make sure you have insulated tools, wire strippers, and screwdrivers that are suitable for electrical work.
Wear Protective Gear
Consider wearing protective gear, like gloves and safety glasses, to ensure you’re safe from electrical hazards.
Creating Your Own Wiring Diagram
If you plan to take on any DIY electrical projects, it’s helpful to create your own wiring diagram.
Step-by-Step Guide to Drawing Your Wiring Diagram
- Plan Your Layout: Start by sketching out the areas where you want to install new outlets or fixtures.
- List Components: Write down all the components you plan to use, including switches, outlets, and light fixtures.
- Use Symbols: Make sure to use the correct symbols for each component as you create the diagram.
- Define Connections: Draw lines connecting the components based on how you plan to wire them.
- Label Everything: Clearly label each component and connection for ease of understanding.
Tools for Creating Diagrams
Several software tools can help you create wiring diagrams efficiently. These include online platforms like SmartDraw and Lucidchart or dedicated electrical design software.
Common Wiring Techniques
When wiring components in your home, there are several techniques you might encounter.
Looping
Looping involves creating a continuous loop of wires to feed electricity to multiple fixtures from one source. This technique can simplify your wiring and reduce the amount of wire needed.
Daisy Chaining
Daisy chaining connects multiple outlets or fixtures in a series. This method is straightforward but can lead to complications if not managed carefully, as overloading can occur.
Junction Boxes
Junction boxes are essential for connecting multiple wires safely. These boxes help prevent exposed wires and reduce the risk of short circuits.
Wire Gauges
Selecting the right wire gauge is vital to ensure the safety and effectiveness of your wiring. Thicker wires can handle more electrical current, while thinner wires are suitable for smaller loads.
Electrical Boxes
Electrical boxes house switches and outlets safely, protecting wires and making it easy to access connections. Choosing the proper size and type of electrical box will depend on your specific installation.
Troubleshooting Common Electrical Issues
If you run into electrical issues, understanding your wiring system can help you troubleshoot them effectively.
Understanding Common Problems
Some common electrical problems include:
- Tripped Breakers: Often caused by overloading a circuit.
- Flickering Lights: Could indicate a loose connection or overloaded circuit.
- Dead Outlets: May result from faulty wiring or malfunctioning devices.
Steps to Troubleshoot
- Turn Off Power: Safety first! Ensure the power is off before investigating.
- Check Breaker Panel: See if the breaker has tripped and reset it if necessary.
- Inspect Connections: Look for any visible damage or loose connections.
- Test Outlets: Use a multimeter to check if outlets are receiving power.
Hiring a Professional Electrician
While many homeowners can take on minor electrical projects, certain tasks are best left to professionals.
When to Call an Electrician
- Major Installations: For extensive installations or upgrades.
- Persistent Problems: If electrical issues continue after your troubleshooting efforts.
- Upgrading Systems: When upgrading or replacing an entire electrical system.
Choosing a Qualified Electrician
When hiring a professional, it’s important to check credentials, licenses, and any reviews or references available. Ensure the electrician you choose has experience relevant to your specific project needs.
Conclusion
Understanding the electrical wiring diagram of your home empowers you with knowledge to manage your electrical system confidently. Whether it’s troubleshooting, planning a renovation, or simply ensuring safety, a solid grasp of your home’s wiring can make all the difference. So, take the time to familiarize yourself with these concepts, and you’ll be better prepared to handle any electrical challenges that come your way! Remember, knowledge is power; the more you know, the safer and more efficient your home can be.


