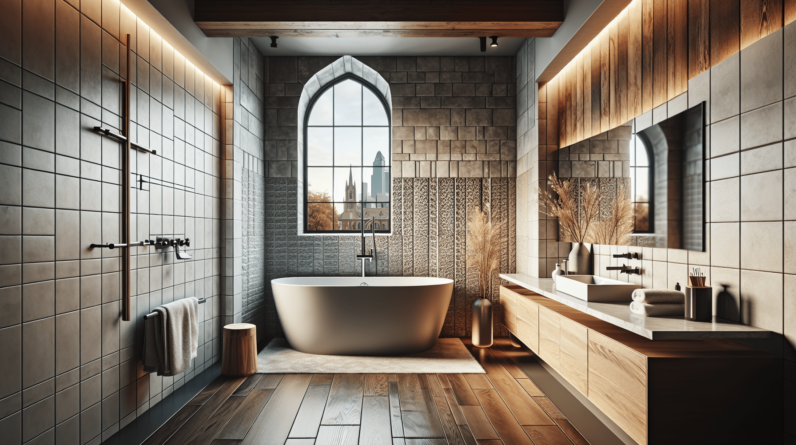

Have you ever thought about transforming your bathroom into a personal oasis? A bathroom remodel can be both an exciting and rewarding DIY project. Whether your goal is to update the space, improve functionality, or simply inject some of your personal style, you can accomplish a lot on your own with just a bit of planning and effort.

Understanding Your Bathroom Space
Before you can begin remodeling your bathroom, you need to assess the space. Take a good look at your existing bathroom layout and consider how it functions. Is there enough storage? How do you feel about the lighting? Are there any outdated features that need a makeover?
Evaluating the Current Layout
Consider the current layout of your bathroom and how you use it daily. Take measurements of the space, including the dimensions of fixtures like the toilet, sink, and bathtub. This will help you visualize what your new design can accommodate. Sketching a basic floor plan can also help you see what changes may be necessary.
Identifying Key Features
Next, identify the key features of your bathroom that you want to keep and those you’d like to change. Perhaps you love the vintage bathtub but want to replace the sink and cabinet. By focusing on these elements, you can create a prioritized list that will guide your remodeling process.
Setting a Budget
Creating a budget may be daunting, but it’s essential for a successful bathroom remodel. A budget helps you keep track of expenses and prevents any surprises down the line.
Breaking Down Your Costs
Begin by researching the costs associated with the materials and features you want to include. Here’s a breakdown of typical expenses you might encounter:
| Item | Estimated Cost Range |
|---|---|
| Bathtub | $300 – $2,000 |
| Sink | $100 – $800 |
| Toilet | $150 – $600 |
| Vanity and Cabinet | $200 – $1,200 |
| Fixtures (faucets, etc.) | $50 – $500 |
| Tile (floor and walls) | $1 – $15 per square foot |
| Labor (if applicable) | $40 – $100 per hour |
These costs can vary widely, so shop around for the best deals and consider whether you can salvage or refurbish existing items to save money.
Keeping a Contingency Fund
It’s always wise to set aside 10-15% of your total budget for unexpected expenses. During remodeling, you might uncover issues such as outdated plumbing or electrical wiring that needs addressing. Having a buffer can save you from stress later on.
Planning Your Design
Now that you have assessed your space and set a budget, it’s time to plan your new design. This is where your vision starts to take shape.
Choosing a Style
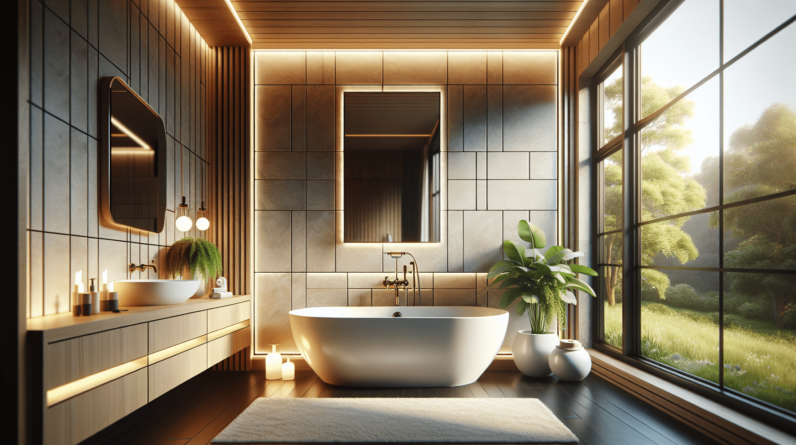
What vibes do you want to bring into your bathroom? A modern, minimalist aesthetic? A cozy, farmhouse look? Understanding your desired style will help you choose materials and finishes that align with your vision.
- Modern: Sleek lines, neutral colors, and minimal decor.
- Traditional: Warm colors, classic fixtures, and elaborate details.
- Rustic: Natural materials, wooden accents, and vintage finds.
Selecting Colors and Materials
Once you’ve defined your style, think about color schemes and materials. Light colors can make a small bathroom feel larger, while bold, dark colors can create a cozy chic atmosphere.
Consider the following materials:
- Porcelain or ceramic tile: Great for floors and walls due to their durability and water resistance.
- Natural stone: Adds an elegant touch but can be more expensive.
- Wood: Can create warmth but requires proper sealing to withstand moisture.
Creating a Floor Plan
After you’ve decided on a style and materials, draft an updated floor plan. Use graph paper or an online design tool to scale everything accordingly. This is where you might consider relocating fixtures like the toilet or shower for improved flow and functionality.
Gathering Your Tools and Materials
Before you get started, make sure you have all the necessary tools and materials. Having everything on hand will help streamline the process.
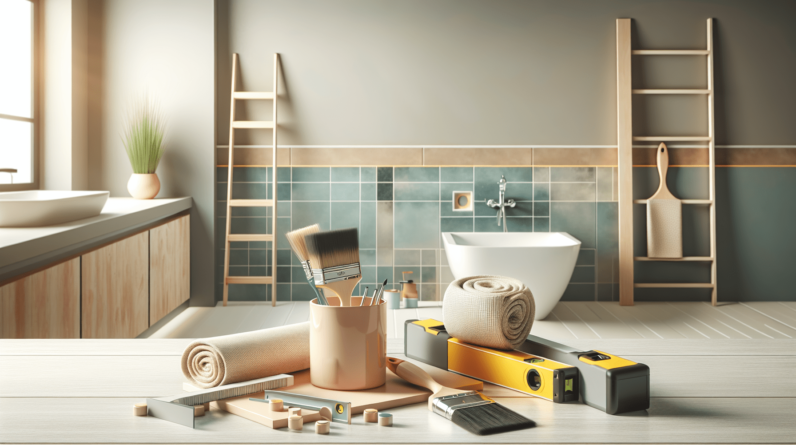
Essential Tools
Here’s a list of basic tools you might need:
- Measuring tape: For getting accurate dimensions.
- Level: Ensures everything is straight.
- Tile cutter: For those tiling projects.
- Drill: Essential for various tasks.
- Screwdrivers: Both Phillips and flathead for different screws.
Materials
Once you’ve chosen your materials, make a detailed list of what you need. This includes tiles, paint, fixtures, and any structural materials. Be sure to consider the amount you’ll need based on your floor plan.

Demolition and Preparation
With your tools and materials ready, it’s time to start the fun part: demolition! But, proceed with caution; demolishing your bathroom requires careful planning.
Safety First
Before you begin taking anything apart, protect yourself. Wear safety goggles, gloves, and a dust mask to guard against debris and dust from your old fixtures. Ensure the water and electricity are shut off to prevent any accidents.
Removing Fixtures
Start by carefully removing any fixtures you plan to replace. This includes taking out the toilet, sink, cabinets, and countertop. Work systematically and keep track of screws and fittings as you detach items.
Addressing Hidden Issues
Once the fixtures are out, look for any underlying problems. Check for signs of water damage or mold beneath the sink or at the base of the toilet. You can address these issues before moving on to the installation of new materials.
Installing New Features
Now you’re ready for the most exciting part: installing your new fixtures. This step is rewarding, as you begin to see your vision come to life.
Floor Installation
If you’re laying new tile for the floor, check the subfloor for damage before placing the tile. Use a level to ensure the flooring is even and adhere tiles according to the manufacturer’s recommendations. Let them set according to the instructions before stepping on them or installing any fixtures.
Wall Treatments
Consider whether you’d like to add tile to the walls or a fresh coat of paint. If you’re tiling, start from the bottom and work your way up, using spacers for even grout lines. After the tiles are set and grouted, you can paint the remaining walls the color of your choice.
Installing Vanity and Sink
The vanity is often the focal point of the bathroom. When installing this, ensure it’s leveled and secured to the wall. Once the vanity is in place, you can install the sink and any related plumbing. Connections must be tight to prevent leaks.
Toilet Installation
The installation of the toilet can seem tricky, but it’s more straightforward than it may appear. Begin by placing the wax seal on the flange. Carefully lower the toilet onto the seal and secure it with bolts. Connect the water supply line and turn on the water to test for leaks.
Final Touches
With the main fixtures installed, it’s time to add the finishing touches. Install light fixtures, mirrors, and any shelving or decor items that enhance your style. For accessories, think about adding towel bars or hooks in functional spots.
Cleaning and Preparing for Use
After all your hard work, the final step is to clean the area and make it ready for use.
Thorough Cleaning
Start with a deep clean of your newly remodeled bathroom. Wipe down all surfaces, including tiles, counter space, and any fixtures. Pay special attention to grout lines and behind the toilet—these areas are often overlooked but deserve the same care.
Final Inspection
Before declaring the space ready for its first use, do a thorough inspection. Check for any leaks around the sink, toilet, or bathtub, and ensure all fixtures are functioning correctly.
Enjoy Your New Space
Now that your bathroom remodel is complete, take a moment to appreciate the transformation. It’s truly rewarding to enjoy a space that reflects your personal style and meets your needs.
Personal Touches
Think about adding personal touches to your bathroom. Perhaps a decorative vase or some cozy towels could help make the space feel uniquely yours. Little details like candles or artwork can go a long way in creating a relaxing atmosphere.
Maintenance Tips
Your beautifully remodeled bathroom will not only be an inviting space, but it will also require regular maintenance to keep it in great shape. Schedule periodic inspections of plumbing to catch any leaks early on, clean the bathroom regularly to prevent mold and mildew, and touch up paint or caulking as needed.
Conclusion
Remodeling your bathroom on your own is both an achievable and fulfilling endeavor. By carefully planning, budgeting, and executing each step, you can transform your space into a functional and stylish sanctuary. Embrace the process—you’ll not only create a personal retreat but also gain valuable DIY skills along the way. Feel proud of your new bathroom and the effort you put into making it uniquely yours!